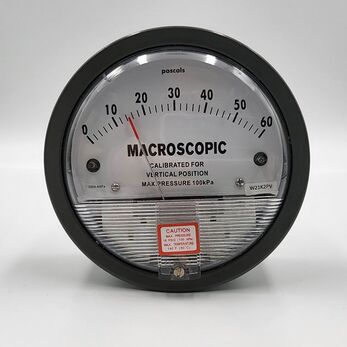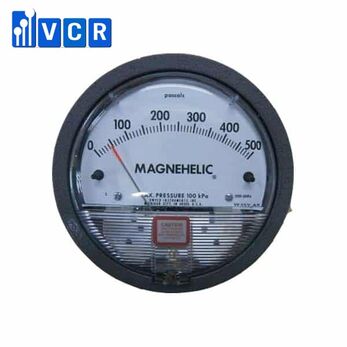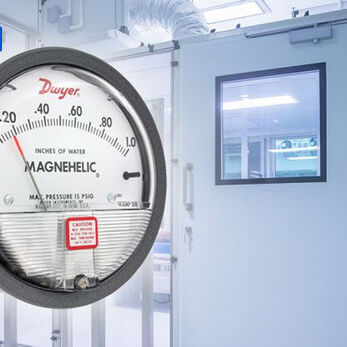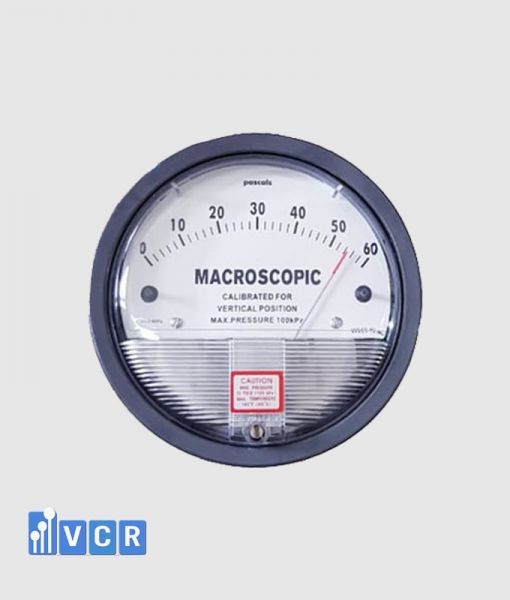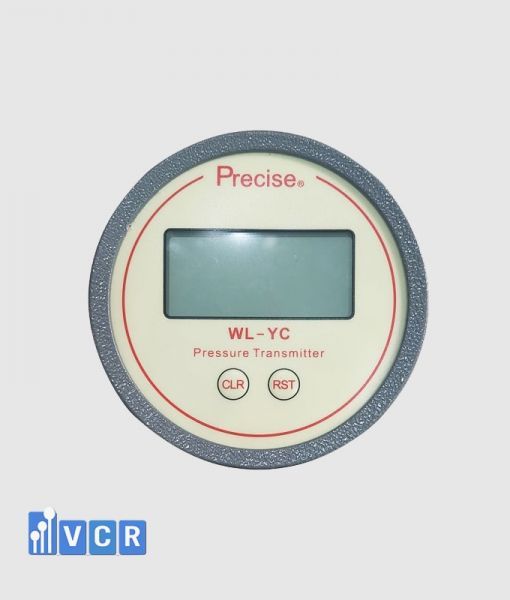
Differential pressure gauges are essential instruments in various industries, playing a crucial role in monitoring and maintaining critical processes. However, their effectiveness hinges on proper installation. Inaccurate installation can lead to erroneous readings, jeopardizing process control and safety.
This guide, offered by VCR, a leading supplier of cleanroom equipment, outlines the key steps for installing a differential pressure gauge, ensuring it delivers precise and reliable measurements.
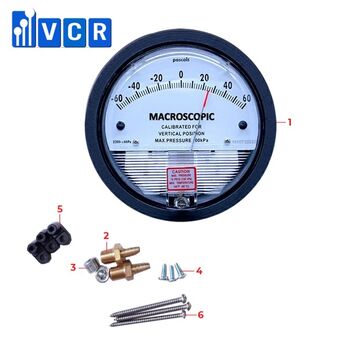
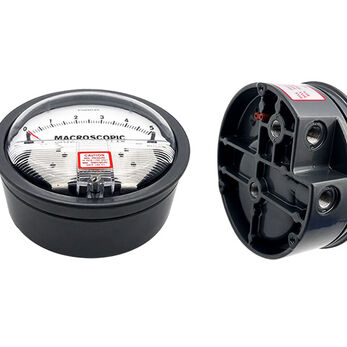
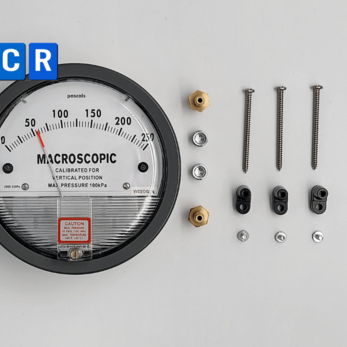
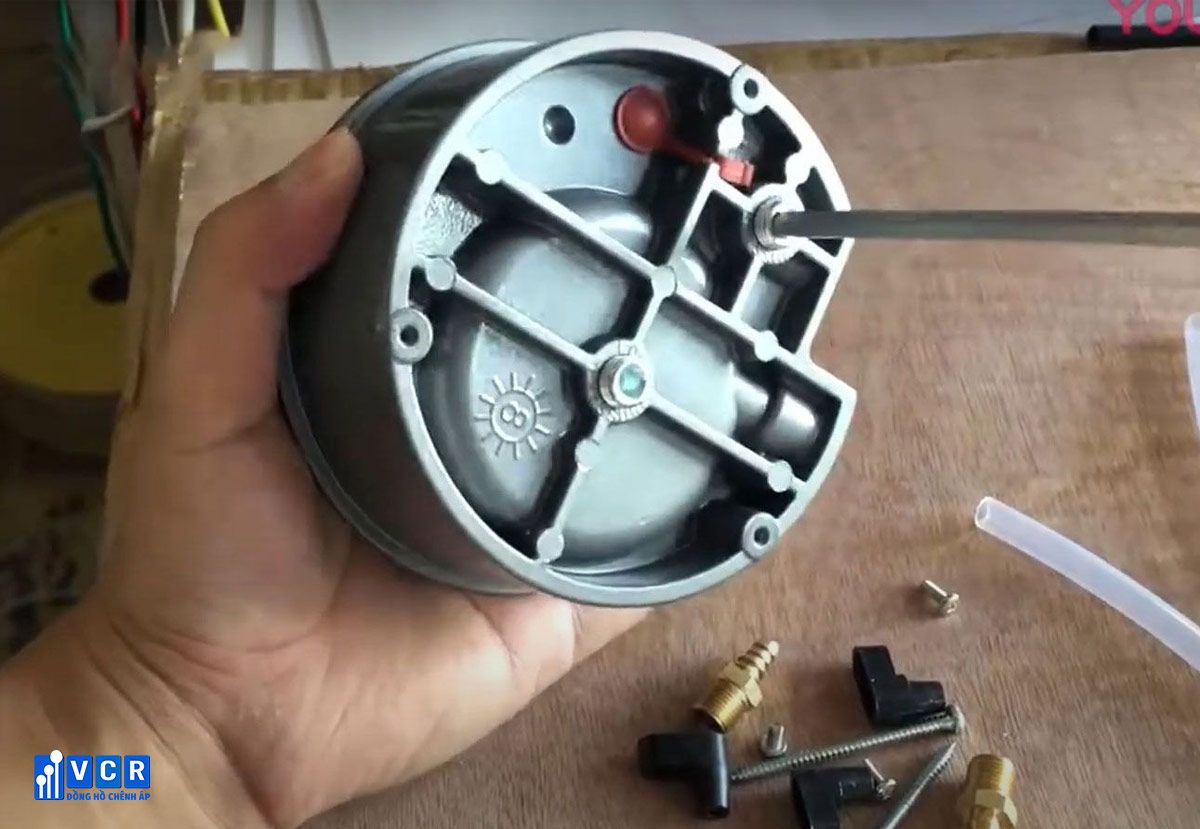
Essential Tools and Materials
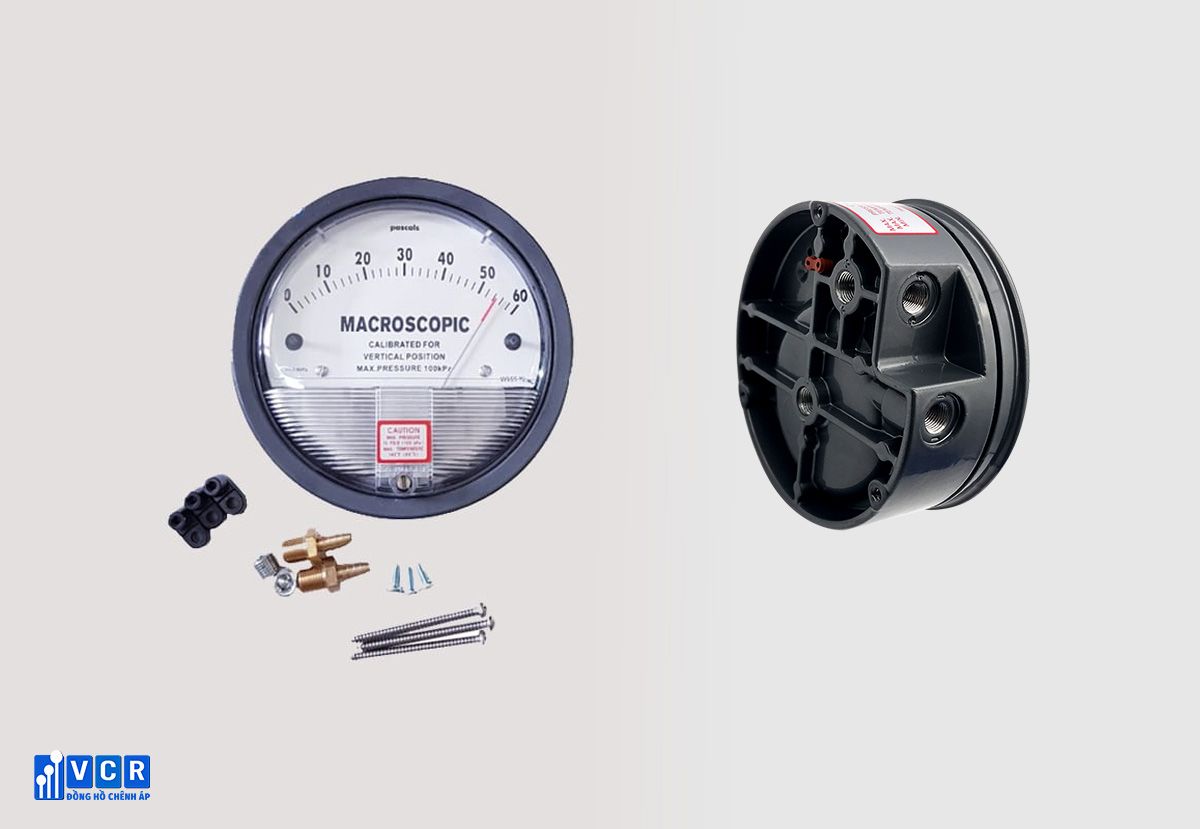
- Differential pressure gauge
- Two 1/8 NPT pipe threads
- Two 1/8 NPT plugs
- Three short screws
- Mounting tabs
- Three long screws
- Wrench/socket set
- Drill with appropriate screwdriver bit
See more: What is A Differential Pressure Gauge Cleanroom
Installation Steps
1. Preparatory Measures:
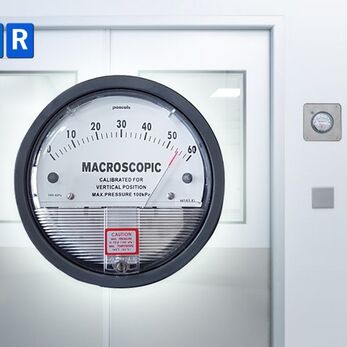
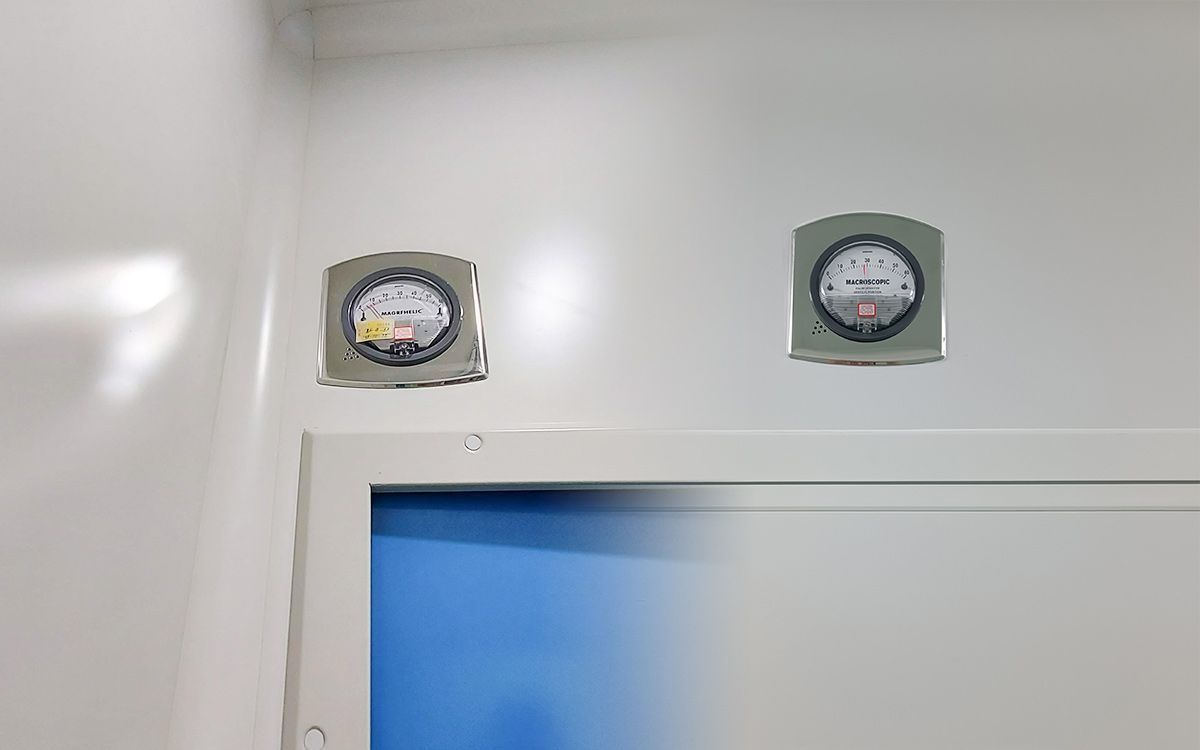
Select a suitable location for the gauge, considering factors like accessibility, vibration levels, and ambient temperature (refer to the manufacturer's specifications for optimal operating conditions).
Ensure the mounting surface is clean, level, and free of debris.
2. Plugging Unused Ports:
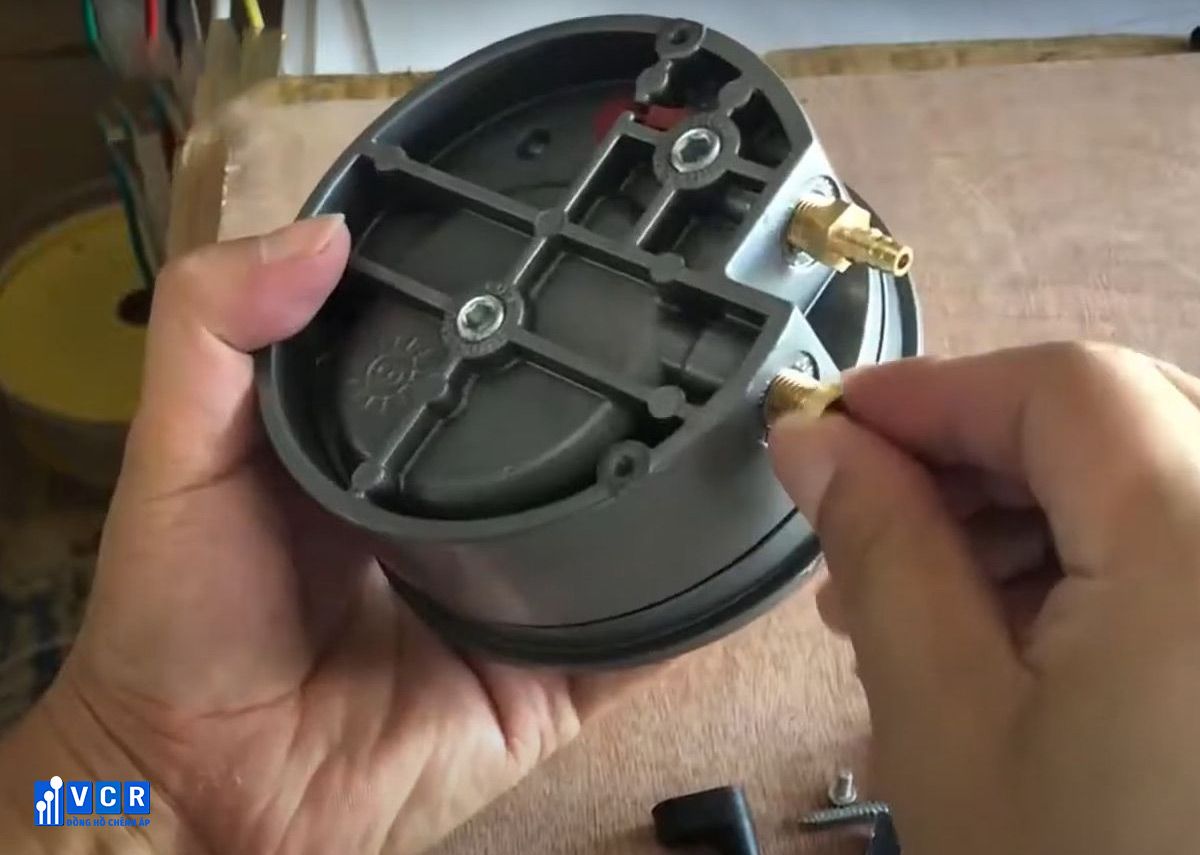
Screw the provided 1/8 NPT plugs tightly into the back of the differential pressure gauge to seal the unused ports. This prevents air leaks that could affect readings.
3. Connecting Pipe Threads:
Attach the 1/8 NPT pipe threads to the side ports of the gauge. Screw them firmly hand-tight, taking care not to overtighten and damage the threads.
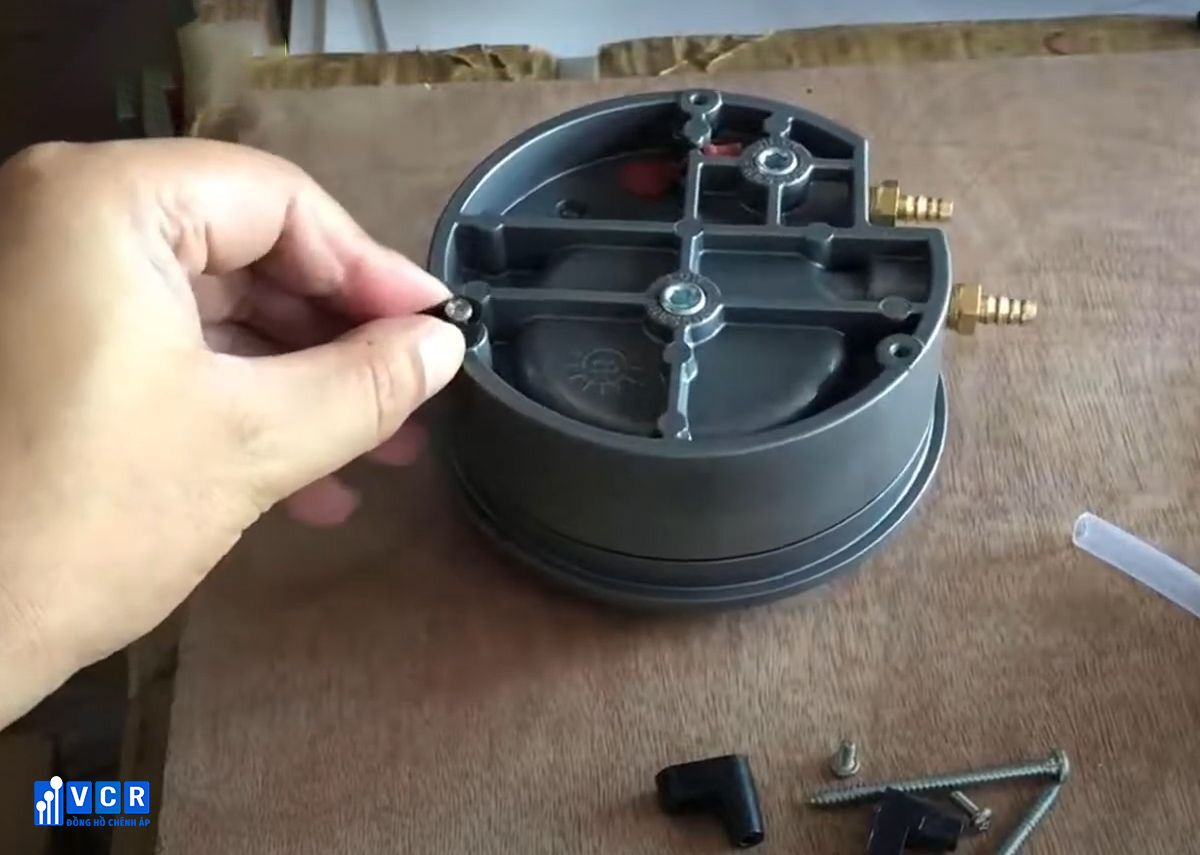
4. Mounting the Gauge:
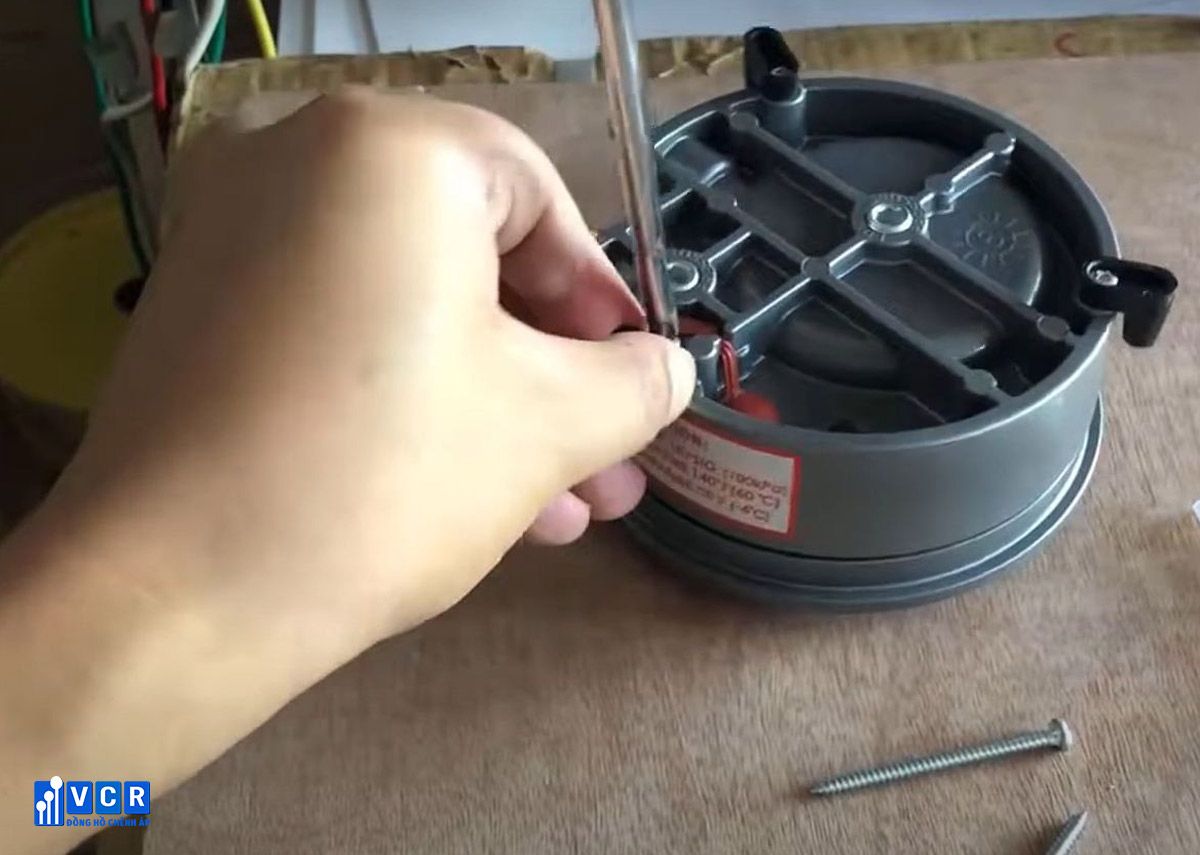
- Attach the mounting tabs to the three short screws provided.
- Position the mounted tabs over the three mounting screw holes on the back of the gauge, ensuring proper alignment.
- Use the wrench or socket set to tighten the short screws, securely fixing the mounting tabs to the gauge.
5. Securing the Gauge to the Wall:

- Place the gauge with the mounted tabs against the chosen location on the wall.
- Insert the long screws through the available holes in the mounting tabs.
- Using a drill with the appropriate screwdriver bit, carefully screw the long screws into the wall, ensuring the gauge is firmly mounted and level.
6. Connecting Tubing:
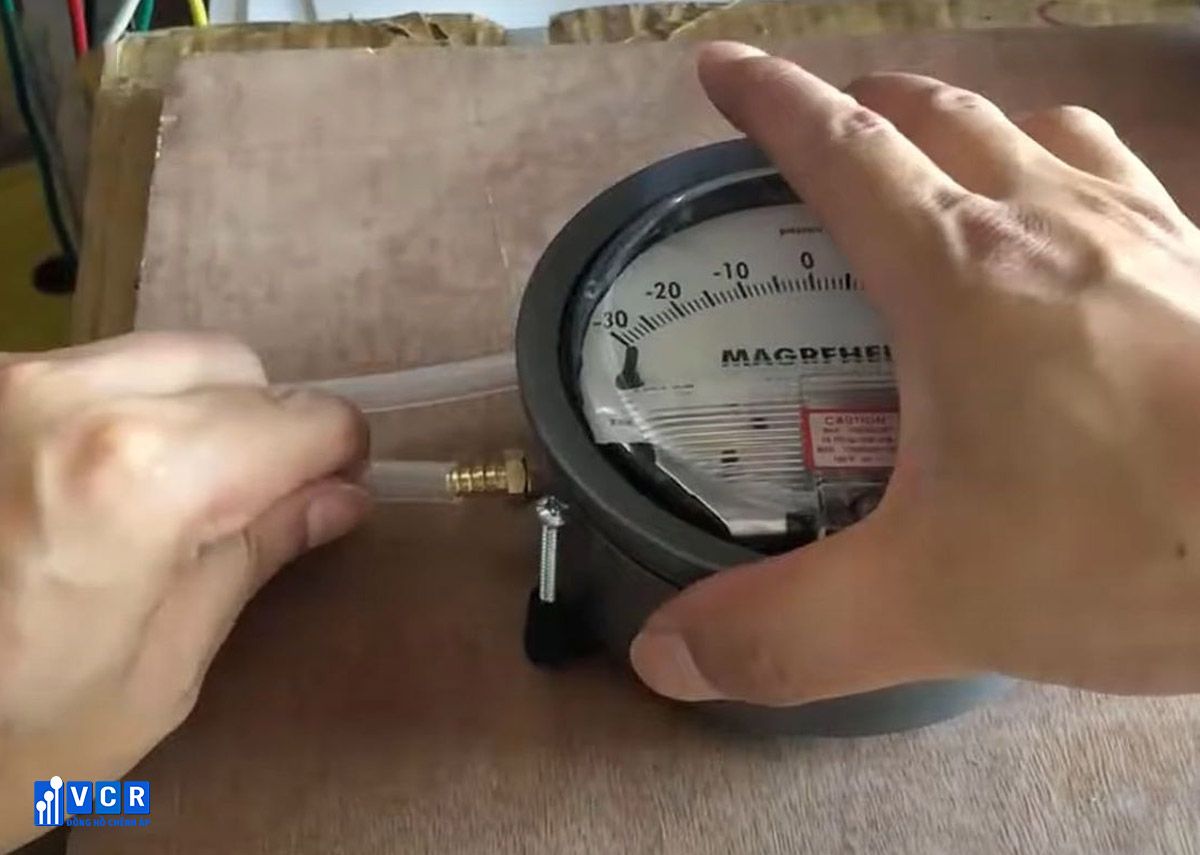
Once the gauge is securely installed, connect the tubing to the appropriate ports based on your specific application. Refer to the manufacturer's instructions or application guidelines for proper connection procedures.
Additional Considerations
- Leak Testing: After installation, it is recommended to perform a leak test to ensure no air leaks are present in the connections. This can be done using a soap solution applied to the connection points. If bubbles appear, there is a leak that needs to be addressed.
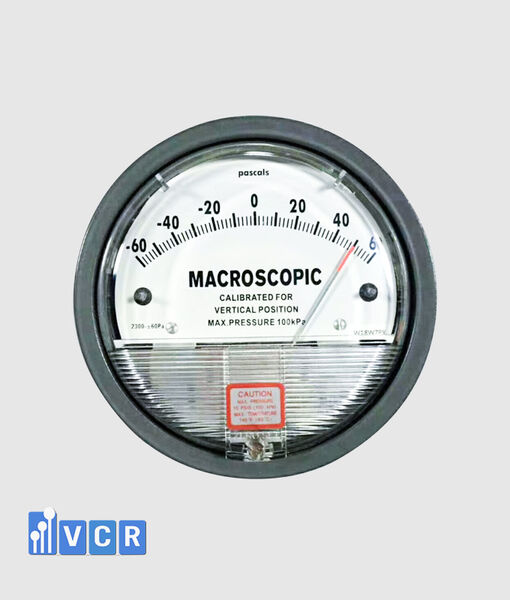
- Zeroing the Gauge: Depending on the specific gauge model, you may need to consult the manufacturer's instructions for zeroing procedures to ensure accurate readings.
See more:
Differential Pressure Gauge in Pharmaceuticals Cleanrooms
Digital Differential Pressure Gauge Installation
By following these steps and adhering to best practices, you can ensure the proper installation of your differential pressure gauge, empowering it to deliver reliable and accurate measurements for optimal process control and safety.